Introduction
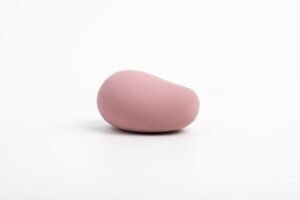
A buyer received three samples from a factory in Dongguan. The silicone felt smooth. The vibration seemed strong. The packaging looked clean. He approved the samples in two days and placed a 2,000-unit order.
Eight weeks later, the container arrived. Thirty percent of the units were louder than the sample. Buttons on twelve percent failed within three cycles. And the “silicone” sleeve on every unit left an oil ring on the packaging insert after sitting in a warehouse for six weeks.
The factory didn’t scam him. He simply didn’t test enough.
A ten-second palm test and a visual once-over are not sample evaluation. They’re sample theater — and the gap between theater and real testing is measured in return rates, chargebacks, and inventory you can’t sell.
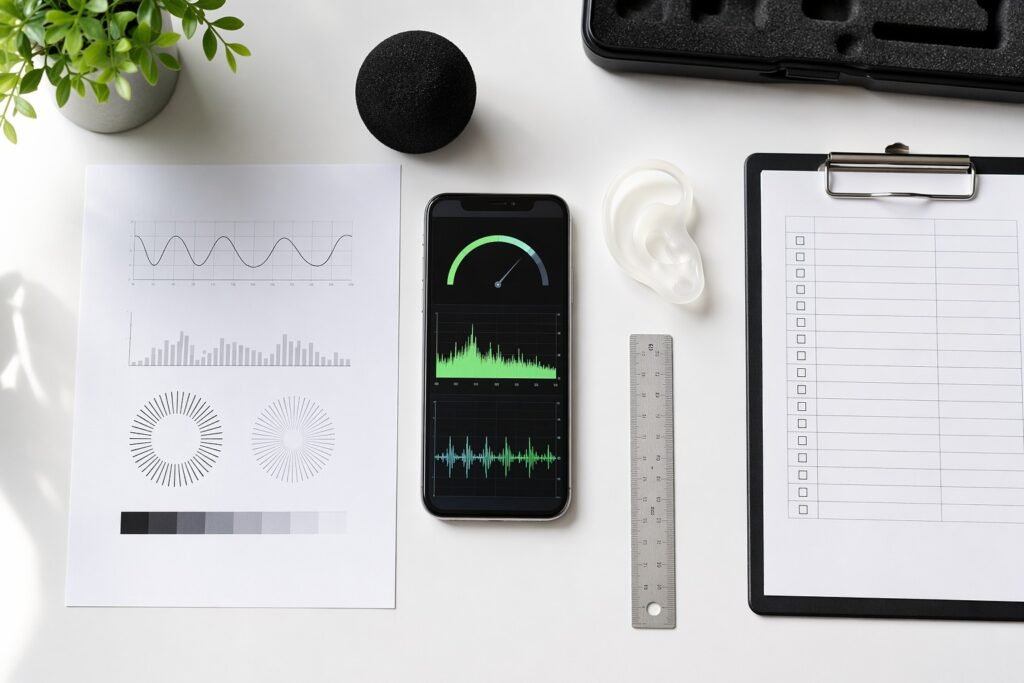
This checklist gives you fifteen tests across five categories. No lab equipment required. A sheet of white paper, a smartphone, and your hands cover most of it. Run every test. Document every result. The two hours you spend here will save you months of damage control later.
If you haven’t selected a supplier yet, read our supplier verification guide first — this checklist assumes you’re already holding a sample from a vetted factory.
Category 1: Safety & Material
These three tests are non-negotiable. A failure on any one of them means the product is unsafe to sell — period. Do not average these into a score. They are pass/fail with zero tolerance.
Test 1 — Odor Test
How to test: Open the package and smell the product immediately — nose directly on the surface. Let it sit in open air for 30 minutes, then smell again.
PASS: No odor, or a faint neutral scent that disappears completely within 30 minutes.
FAIL: Sharp chemical smell, rubber odor, or any scent that persists after 30 minutes. If you can smell it from arm’s length, that’s what your customer smells when they unbox it — and what customs inspectors flag as a potential chemical compliance issue.
Test 2 — Oil Bleed Test
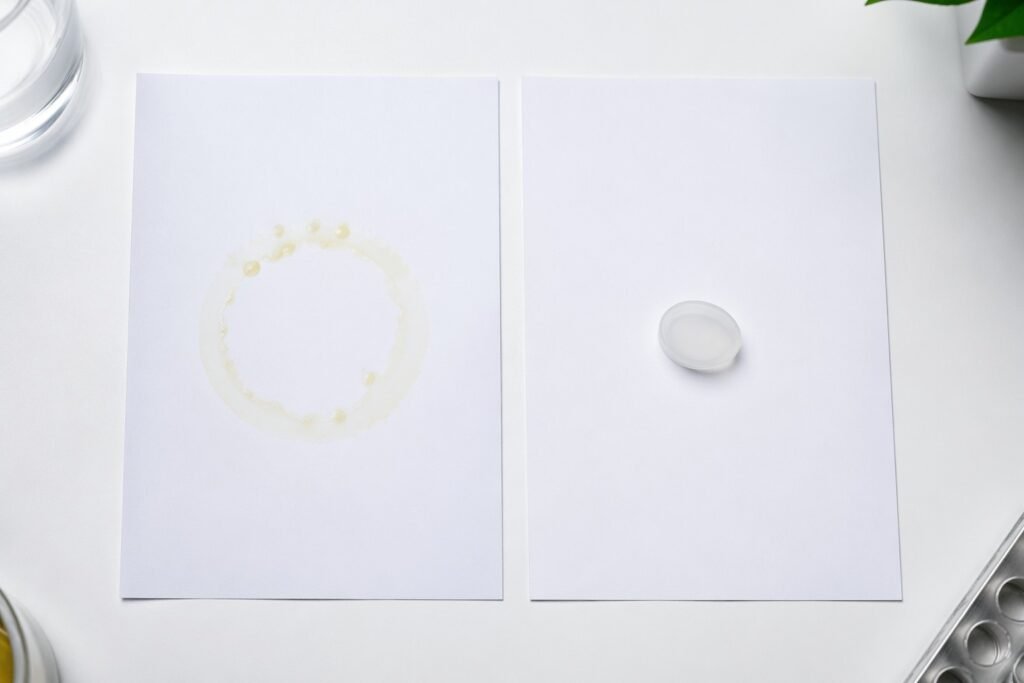
How to test: Place the product on a sheet of plain white printer paper. Leave it at room temperature for 24 hours. Do not wrap it. Do not add weight on top.
PASS: The paper is clean — no stains, no discoloration, no residue.
FAIL: An oily ring, yellowish stain, or any visible residue appears on the paper. This means the material is leaching plasticizers. The product will degrade on the shelf, stain its packaging, and feel sticky to the touch within months. Only TPE and low-grade blended materials bleed oil. Real silicone does not.
Test 3 — Surface Inspection
How to test: Run your fingertip along every surface of the product — seams, edges, openings, charging port, button edges, and any transition between materials. Use your fingernail along mold parting lines. Hold the product under a bright light and look at it from multiple angles.
PASS: Surface is uniformly smooth. Seams are flush. No burrs, flash (excess material at mold parting line), bubbles, pits, or rough patches. Silicone surface is matte or satin — not tacky or sticky.
FAIL: Sharp edges, raised mold lines, bubbles in the silicone, visible dips or sink marks, sticky or gummy feel on the silicone surface. Any of these means the mold needs maintenance or the material formulation is off — and it won’t get better at production scale.
Category 2: Electrical Performance
These five tests cover charging, waterproofing, controls, noise, and sustained operation. Battery-powered products that fail these tests generate the highest return rates in the category.
Test 4 — Charge and Runtime Test
How to test: Drain the battery completely — run the product until it shuts off. Then charge it to full, timing the charge duration. Run it again on the highest setting until auto-shutdown, timing the runtime.
PASS: Charge time falls within the product specification (typically 1–2.5 hours). Runtime matches or exceeds the spec sheet (typically 40–90 minutes). The product does not become abnormally hot during charging.
FAIL: Charge time significantly exceeds spec. Runtime is substantially below spec — a product rated for 60 minutes that dies at 30 minutes has a battery defect or a false capacity claim. Any excessive heat during charging (uncomfortable to hold) indicates a battery safety risk.
Test 5 — Waterproof Test
How to test: Match your test to the product’s IPX rating. For IPX6: spray the product with water from all angles for 3 minutes (a shower head on strong setting approximates this). For IPX7: submerge the product in 1 meter of water for 30 minutes. After testing, open the charging port cover and inspect the port.
PASS: Product functions normally after the test. Charging port and interior are completely dry. No fogging inside transparent components.
FAIL: Water ingress — visible droplets inside the product, fogging, or any functional issue after the test. A product that claims IPX7 but leaks at first submersion will generate returns from the first week of customer use. See our materials guide for how ABS-to-silicone seam quality affects waterproof ratings.
Test 6 — Button Responsiveness
How to test: Press the power button 50 times in succession. Then cycle through every mode button 50 times each. Vary press speed — some fast taps, some firm presses, some from different angles.
PASS: Every press registers. No sticking, no double-triggering, no missed inputs. Button travel and click feel are consistent across all 50 presses.
FAIL: Button requires excessive force to register. Occasional missed presses. Inconsistent click feel. Button gets stuck in the depressed position. Any of these failures will multiply at production volume — a button that fails once in 50 sample presses fails hundreds of times across 2,000 units.
Test 7 — Noise Level Test
How to test: Find a quiet room (background noise below 40 dB). Download any decibel meter app on your phone. Place the phone 30 cm from the product. Run the product at maximum speed and record the peak dB reading.
PASS: ≤55 dB at 30 cm. At this level, the product is inaudible through a closed door and barely noticeable in a quiet room.
FAIL: ≥60 dB. At 60+ dB, the product is audible through a door. Noise is one of the top three return drivers for vibrators — consumers return loud products regardless of how well they perform otherwise. This is not subjective. Measure it.
Test 8 — Continuous Run Test
How to test: Charge the product fully. Run it at maximum speed for 30 continuous minutes. Check at 10, 20, and 30 minutes.
PASS: Motor maintains consistent speed and sound throughout. Housing temperature is warm but not uncomfortable to hold — roughly body temperature or slightly above.
FAIL: Motor speed fluctuates, drops, or the product shuts off before 30 minutes. Housing becomes hot to the touch — if you can’t comfortably hold it against your inner wrist, the internal temperature is too high. This indicates either a defective motor, poor heat dissipation design, or a battery issue — all of which are safety concerns at scale.
Category 3: Structure & Durability
A product that survives electrical testing can still fail structurally. These three tests simulate the physical stress of shipping, handling, and normal use.
Test 9 — Drop Test
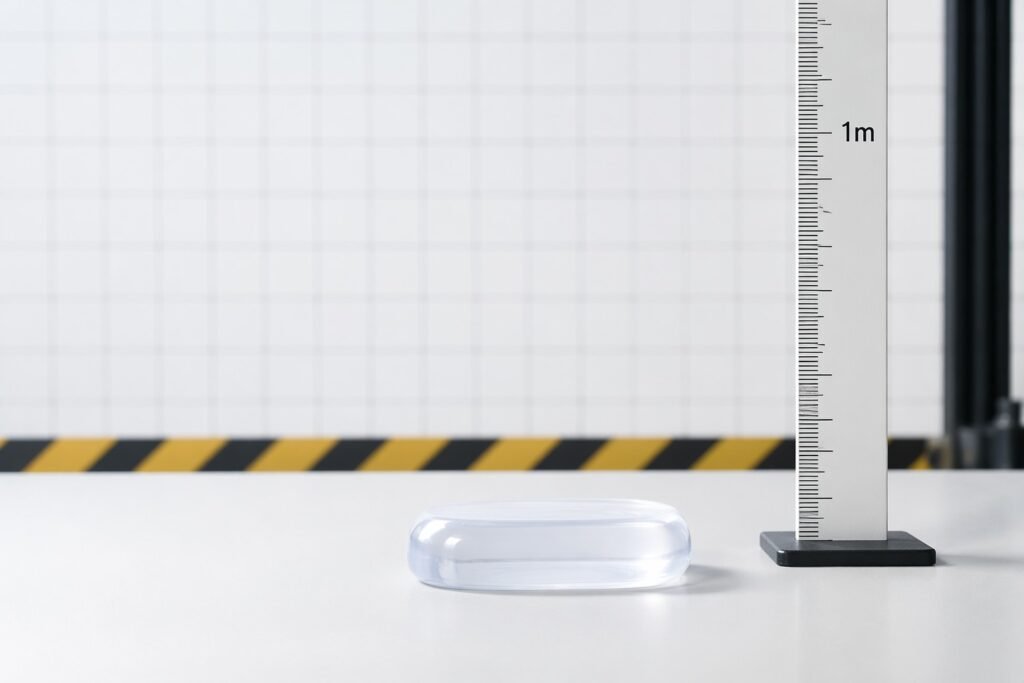
How to test: Drop the product from 1 meter height onto a hard floor — tile, concrete, or hardwood. No carpet. Three drops: one on the front face, one on the back, one on the side edge. After each drop, check function.
PASS: No cracks, no parts separating, no internal rattling. Product powers on and operates normally after all three drops.
FAIL: Housing cracks, buttons pop out, charging port deforms, internal rattling develops, or the product stops working. A product that can’t survive a meter-high drop won’t survive international shipping or a customer’s nightstand.
Test 10 — Bend and Flex Test
How to test: For products with flexible components — rabbit ears, G-spot curves, clitoral stimulator arms — bend the flexible part to its maximum intended angle. Hold for 10 seconds. Release. Repeat 5 times.
PASS: Component returns to original shape within seconds. No permanent deformation. No cracking or whitening at the flex point.
FAIL: Component stays bent, returns slowly, or develops visible stress marks (white discoloration at the bend point). Delamination — silicone separating from the internal core — is an immediate fail. This product will break during normal use.
Test 11 — Seam and Joint Integrity
How to test: Inspect every material junction: where silicone meets ABS plastic, around button surrounds, around the charging port cover, at the base of any attached component. Try to insert a fingernail into any visible gap.
PASS: All seams are tight and flush. No gap is wide enough to admit a fingernail. Silicone is firmly bonded to plastic with no edge lifting. Charging port cover seats fully and stays closed during handling.
FAIL: Visible gaps at material transitions. Silicone edge peeling away from plastic. Charging port cover doesn’t stay closed. Any gap is a water ingress point and a bacterial trap — both are product liability exposures.
Category 4: User Experience
These two tests evaluate what your customer actually feels and does with the product. A product can pass every technical test and still fail in the hand.
Test 12 — Vibration and Pattern Test
How to test: Cycle through every speed setting from lowest to highest, holding each for 10 seconds. Then cycle through every preset pattern. Do this with the product in hand, not on a surface.
PASS: Clear, perceptible difference between each speed level. Patterns switch smoothly without lag or stutter. At maximum speed, vibration is strong but the housing doesn’t buzz uncomfortably in the hand — excessive handle vibration is a design flaw, not a feature.
FAIL: Low and high speeds feel nearly identical. Pattern switching is jerky. At high speed, the entire product vibrates so aggressively in the handle that it’s uncomfortable to hold — this numbness transfers to the user within minutes and leads directly to returns.
Test 13 — Ergonomics and One-Handed Operation
How to test: Operate every function with one hand — power on/off, speed adjustment, pattern switching. Hold the product as the end user would during actual use. Note where your fingers naturally land relative to the buttons.
PASS: All functions are accessible and usable with one hand. Button placement is intuitive — you don’t need to look at the product to find the controls. Grip surface provides adequate friction — the product doesn’t slip when wet or lubricated.
FAIL: Requires two hands to change settings. Buttons are positioned where fingers accidentally press them during use. Surface is too smooth — product becomes hard to grip securely with any moisture on hands. Poor ergonomics create friction in the user experience, and friction creates returns.
For guidance on which materials provide the best grip and tactile properties, refer to our materials comparison guide.
Category 5: Compliance & Documentation
A product that passes all physical tests can still be rejected at customs for missing labels or inadequate documentation. These two tests cover what regulators and distributors will check.
Test 14 — Label and Marking Check
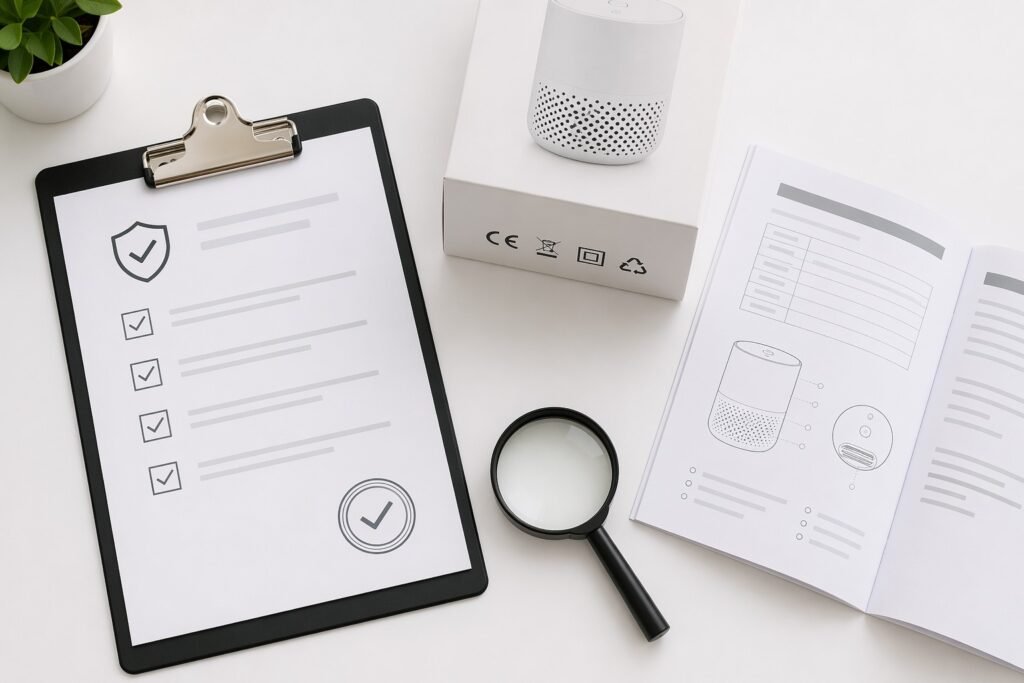
How to test: Inspect three surfaces: the product body, the retail packaging, and the user manual. Verify that all mandatory markings are present, correctly placed, and consistent across all three.
PASS (by market):
- EU: CE mark, WEEE symbol (crossed-out wheeled bin), material designation, importer name and address, IPX rating
- US: FCC statement (for electronic products), material designation, manufacturer or distributor identification
- UK: UKCA mark (mandatory from 2025), importer details
- Universal: Model number, batch code or date of manufacture, disposal instructions, safety warnings
FAIL: Any mandatory mark missing for the target market. Marks on packaging contradict marks on the product. Text is illegible or smeared. CE mark is the wrong format — the “China Export” mark that mimics CE is a common mistake and a customs rejection trigger.
Test 15 — Documentation Package Review
How to test: Lay out everything that ships inside the box. Review the user manual from cover to cover. Check every included accessory.
PASS: Package includes an English-language user manual with clear operating instructions, safety warnings, cleaning guidance, and warranty or after-sales information. Charging cable is of acceptable quality — not a thin, unmarked cable with visible molding defects. Storage pouch is included if specified. QC pass card or inspection certificate is present.
FAIL: Manual is Chinese-only or poorly translated. Safety warnings are missing — no “do not use while charging,” no “keep away from water if not waterproof,” no material allergy disclaimer. Charging cable is unbranded, flimsy, and would fail a basic electrical safety check. Missing QC card means no factory-side quality gate was applied to this unit.
Scoring Framework
Score each test as pass (1 point) or fail (0 points). Maximum score: 15.
| Score | Verdict | Action |
|---|---|---|
| 13–15 | Pass | Proceed to bulk order. File test results as your QC baseline. |
| 10–12 | Conditional Pass | Require factory to fix all failed items. Request re-samples of corrected units and re-test before ordering. |
| ≤9 | Fail | Switch suppliers or request a different product model. No exceptions. |
One-Vote Veto Items
The following tests override the total score. A single fail on any of these means automatic rejection — regardless of how many other tests passed:
- Test 1 (Odor)
- Test 2 (Oil Bleed)
- Test 3 (Surface Inspection)
- Test 5 (Waterproof)
These are safety and material integrity tests. A product that fails them is not fixable with a minor production adjustment — it requires a material or design change.
How to Document Your Test Results
Factory negotiations run on evidence. Your word is not evidence. Documentation is.
Take photos or short videos of every test. Oil bleed test — photo of the paper before and after. Noise test — screenshot of the decibel reading. Drop test — video of the drop itself. This creates a record the factory cannot dispute with “our sample was fine.”
Send fail items to the factory immediately. Attach photos or video clips. Request a written response with a root cause analysis and a corrective action plan with a timeline. If the response is “we’ll check” with no specifics, escalate or walk.
Re-test corrected samples with the same checklist. Do not skip tests that passed the first time. A factory fixing one issue can inadvertently introduce another. The full checklist runs every time.
Attach your test record to the purchase order. Your sample test results become QC acceptance criteria for the bulk order. If noise measured 52 dB on the sample, the production spec says “≤55 dB.” This closes the gap between “the sample was good” and “prove the bulk order is the same.”
The Bottom Line
Sample testing is not a formality. It’s the cheapest insurance policy you will ever buy in this business. The two hours you spend running this checklist costs you nothing. Skipping it can cost you a container of unsellable inventory.
You don’t need a lab. You don’t need specialized equipment. You need a method, and the discipline to follow it without shortcuts. The factory’s job is to convince you the product is ready. Your job is to prove it.
Need help evaluating samples from a supplier? Contact AmorSerere for a free sample evaluation consultation →